Auto-attendant is a cloud communication feature that automatically answers your inbound calls and routes callers to their desired destination. This feature is also known as a cloud attendant, digital receptionist, or interactive voice response (IVR).
The auto-attendant feature is included with our business phone number plans at no additional cost. Once your account is activated, you can set up an auto-attendant through our IVR manager in your control panel.
Set up an auto-attendant for your business using the steps below. Or, check out our instructional video.
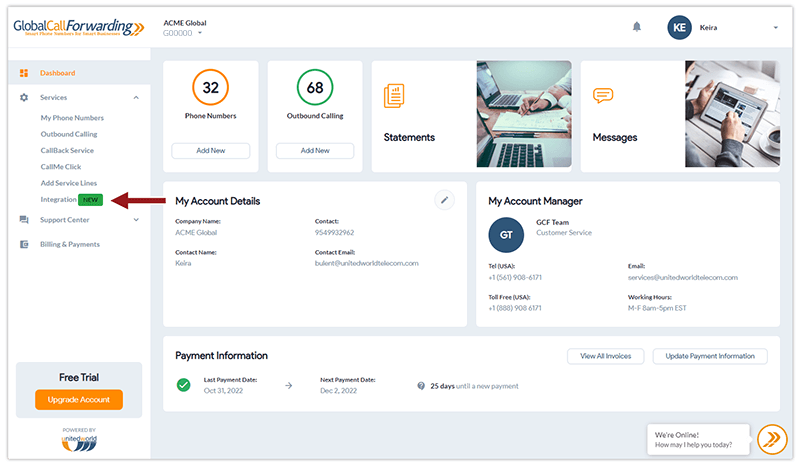
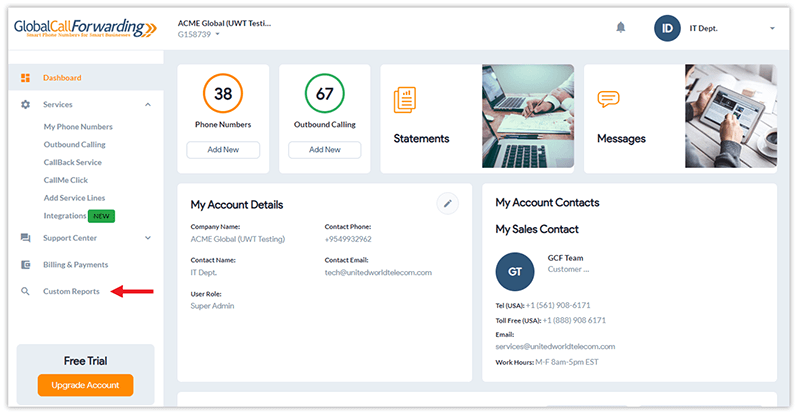
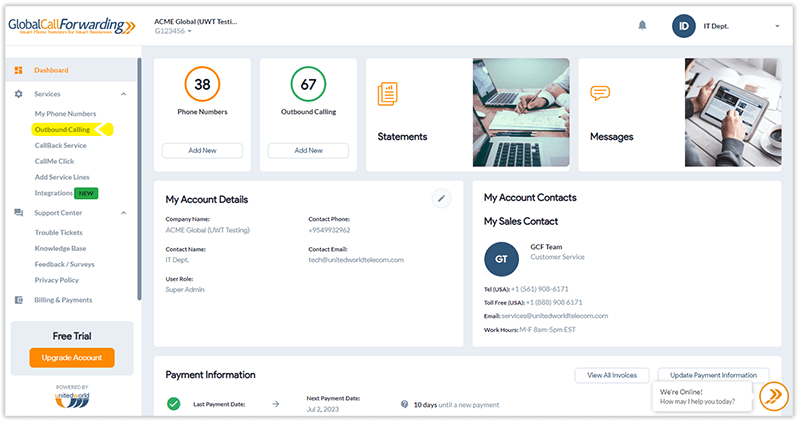
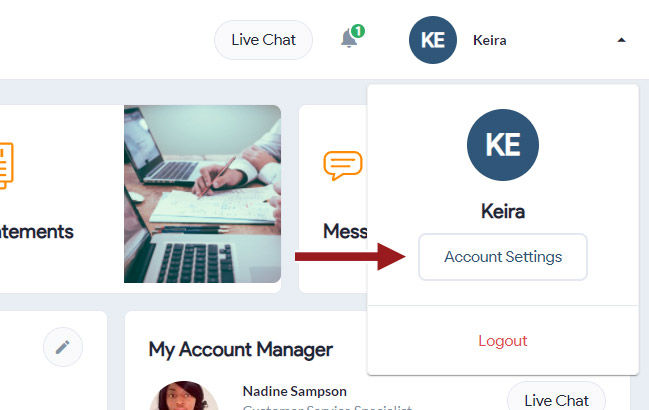
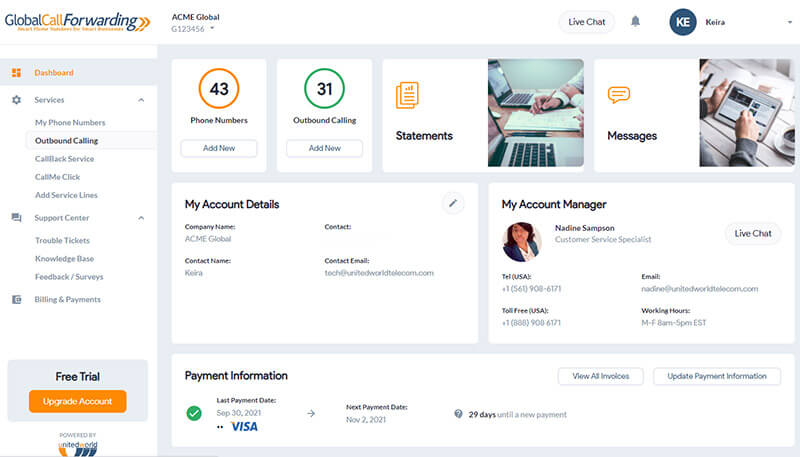
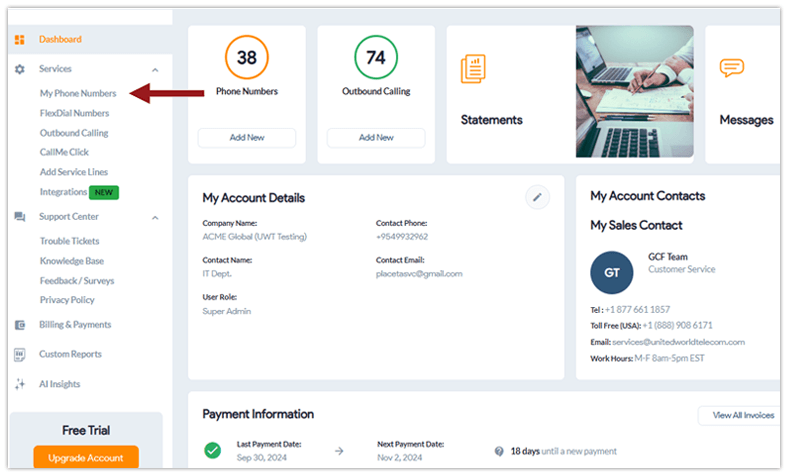
1. Log in to your online control panel using your account information.
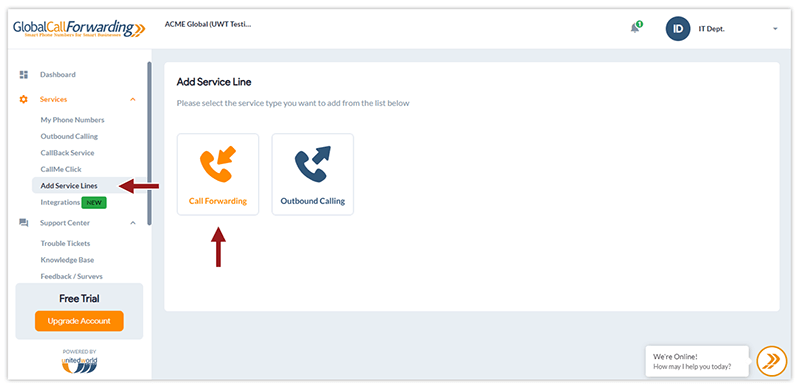
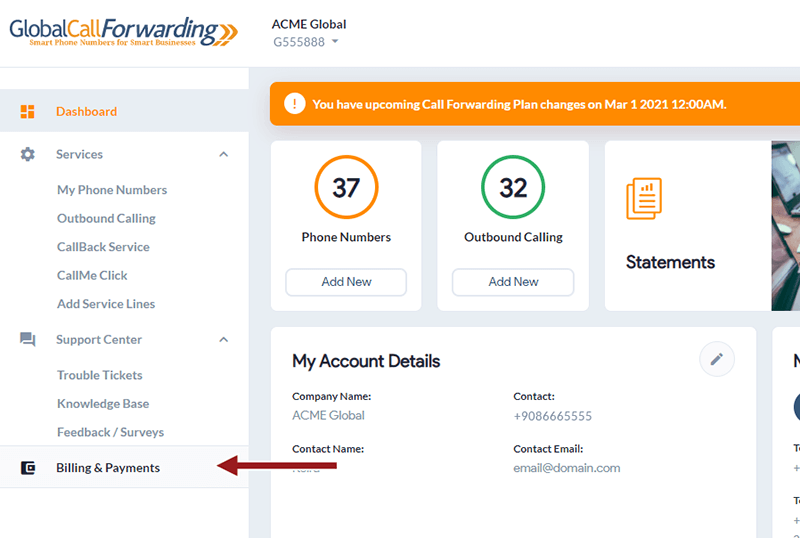
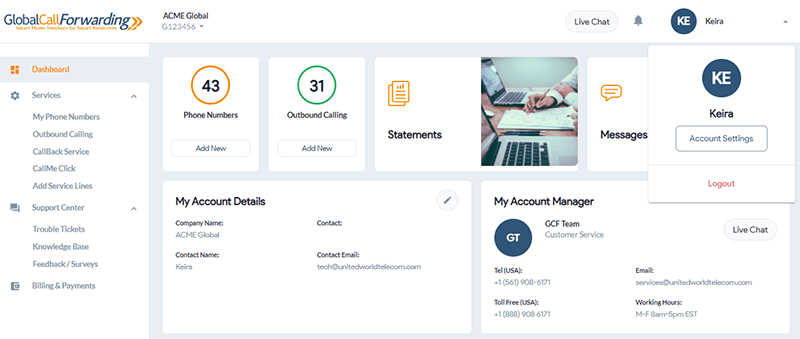
2. Select My Phone Numbers (located under Services) on the left-hand side of the page.
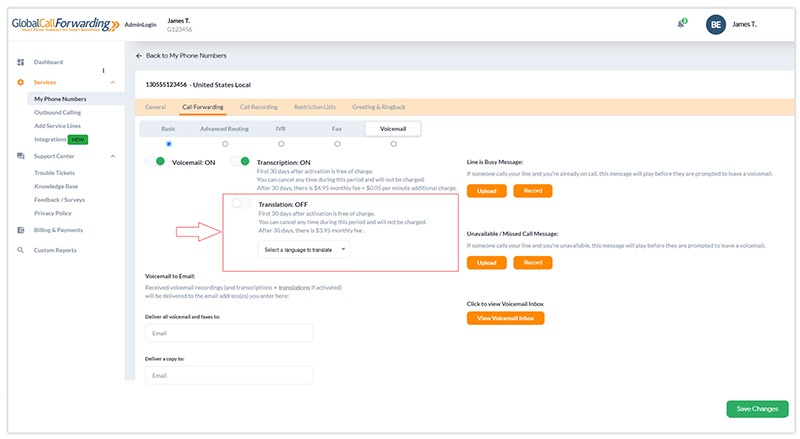
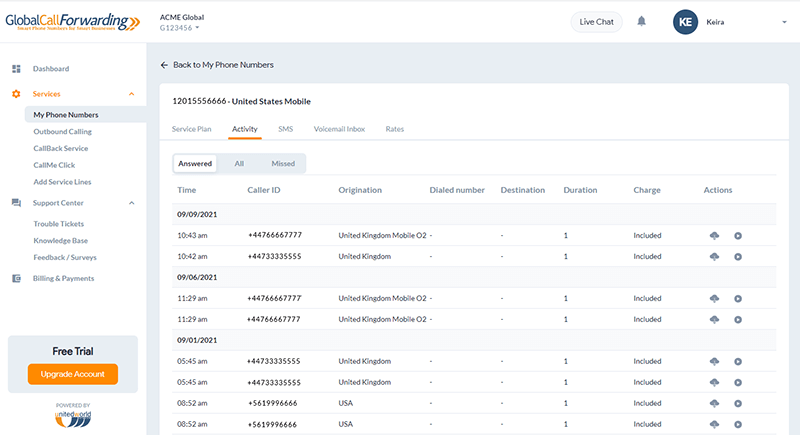
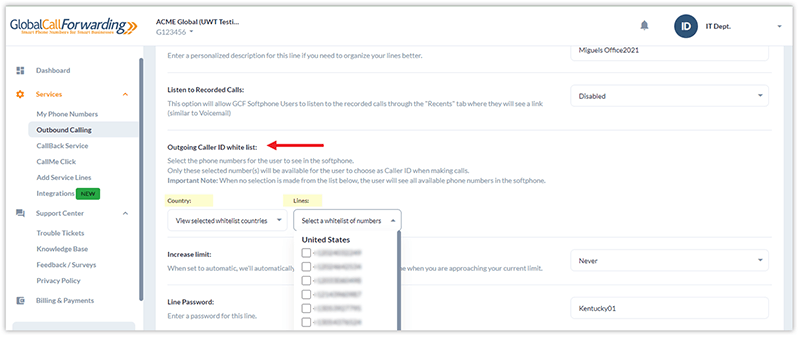
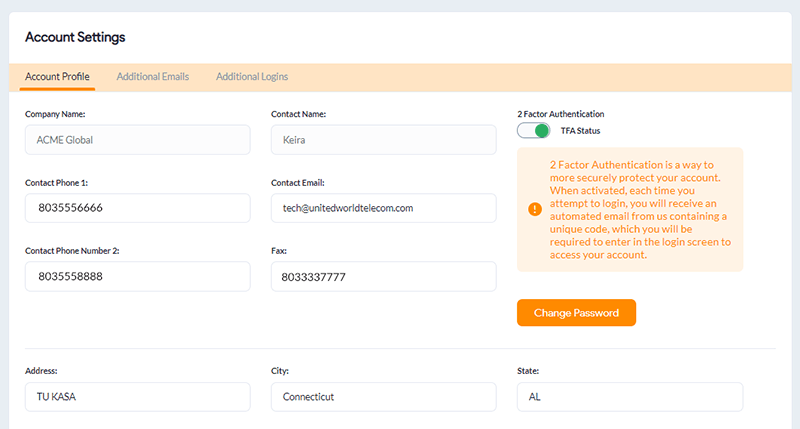
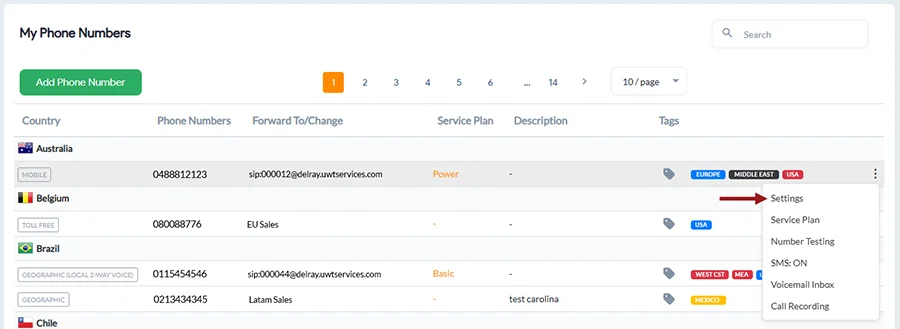
3. Choose which line you’d like to set up auto-attendant for by clicking on the 3 dots to the right of your number and select Settings.
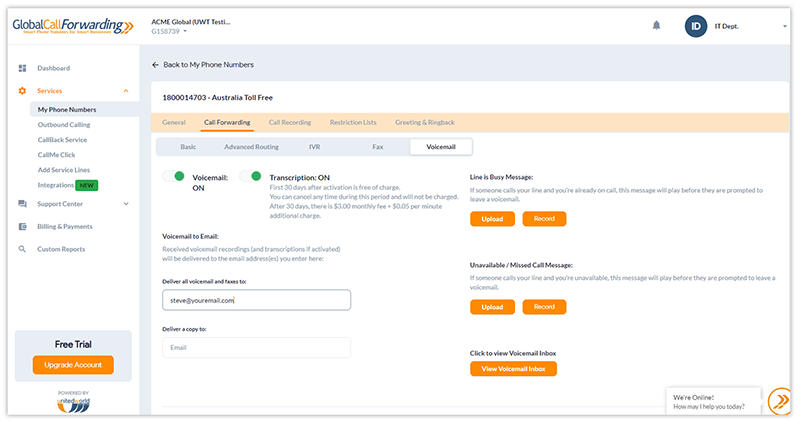
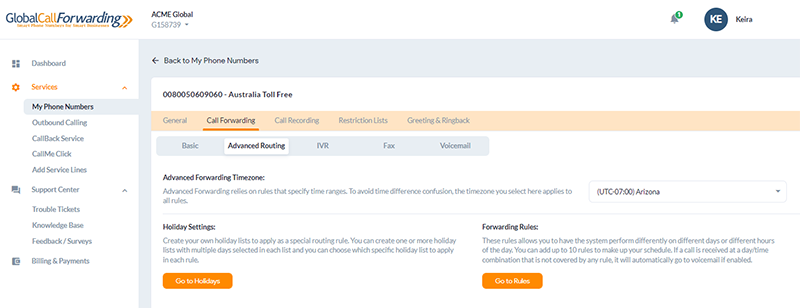
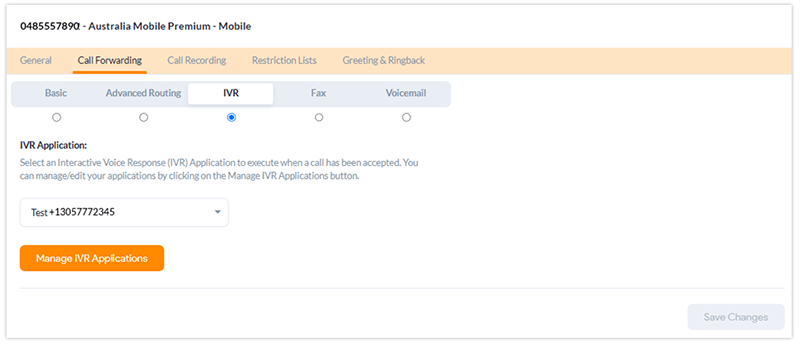
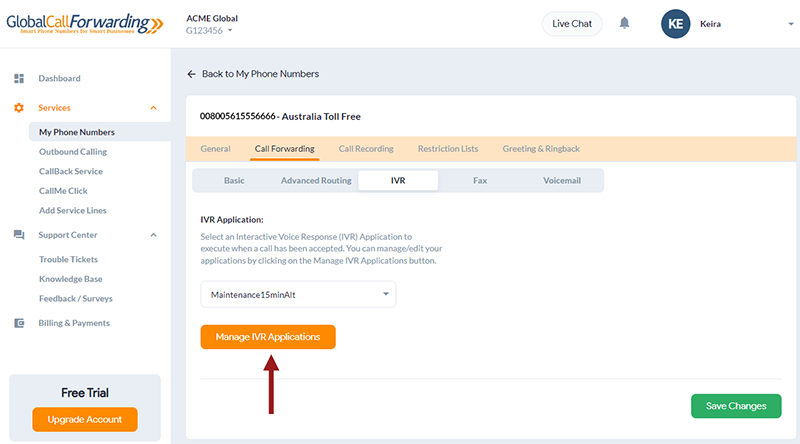
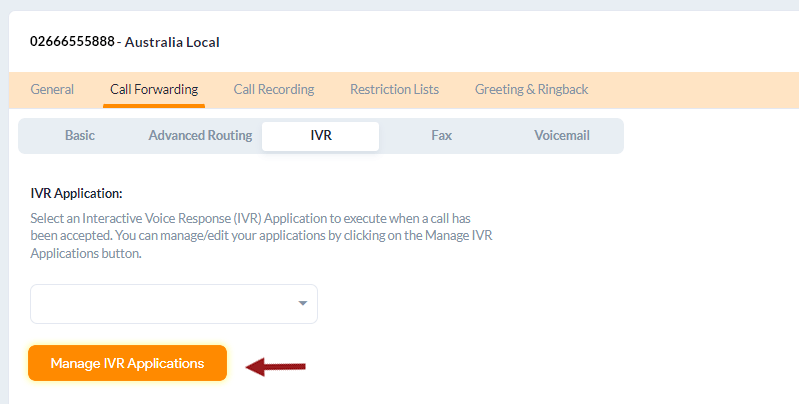
4. Click the Call Forwarding tab and then the IVR tab.

5. Select Manage IVR Applications.
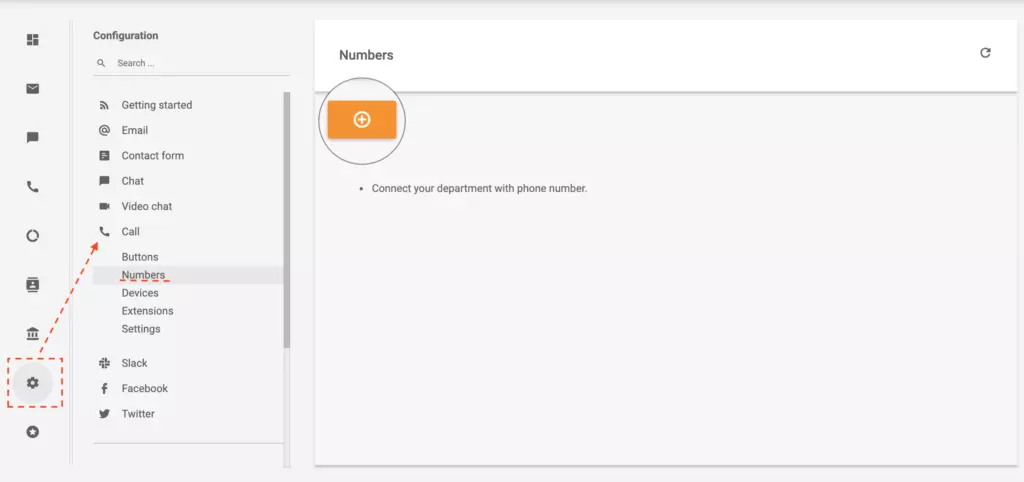
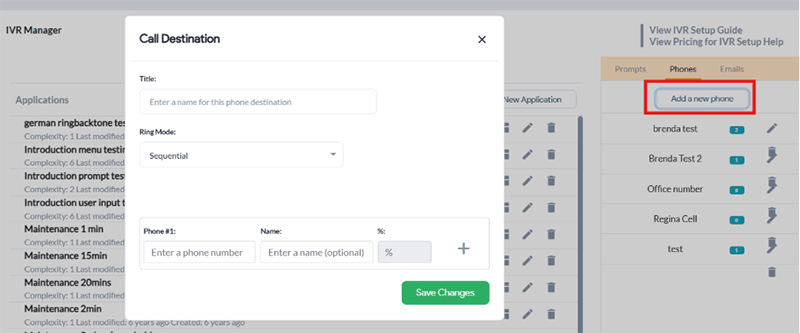
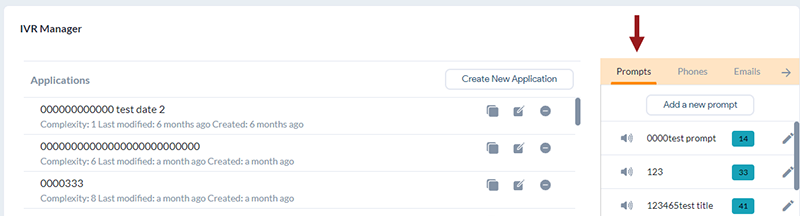
6. In this window, look at the menu on the right side of the screen. Here, you can record or upload custom prompts to guide callers through your phone system. Additionally, you can create lists of phone numbers to route calls to specific individuals, departments, or ring groups and email addresses to forward voicemails and faxes – all in their respective tabs.
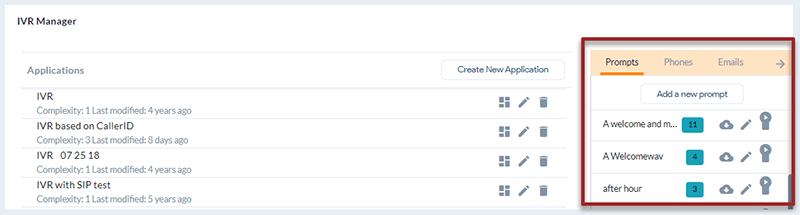
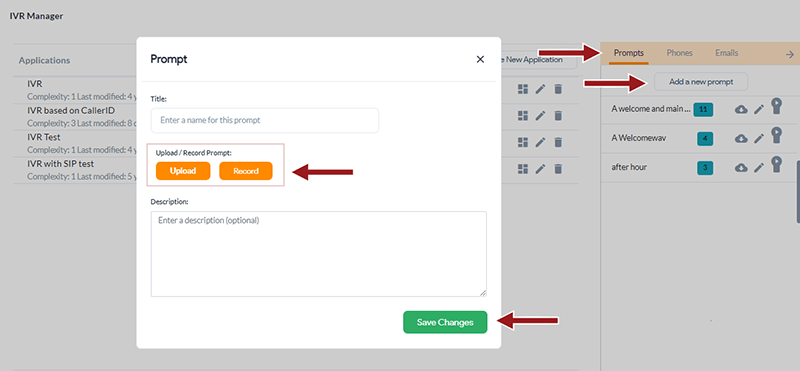
• To record or upload prompts and voice messages:
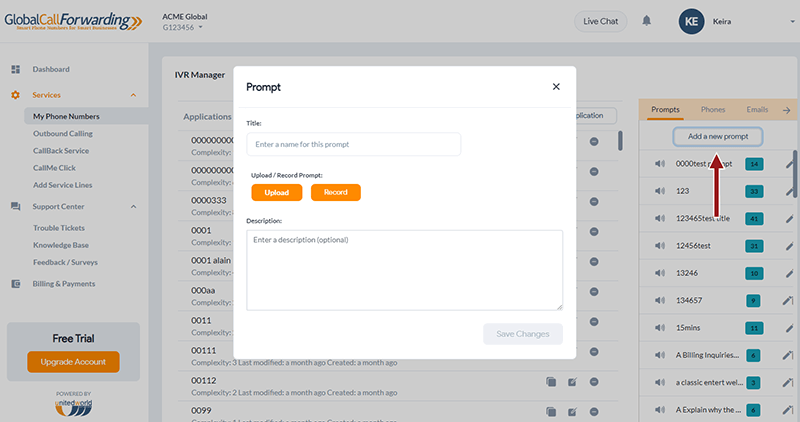
Click on the Prompts tab and then Add a new prompt. In the pop-up window, hit the Record button and make sure to allow the software access to your microphone. When you’ve finished recording, click the Stop Recording button.
Or, you can upload pre-recorded prompts by hitting the Upload button and selecting your desired audio file from your device.
Then, you can replay, download, or trash the captured audio. Once you’re happy with the prompt or message, add a title and description and click Save Changes.
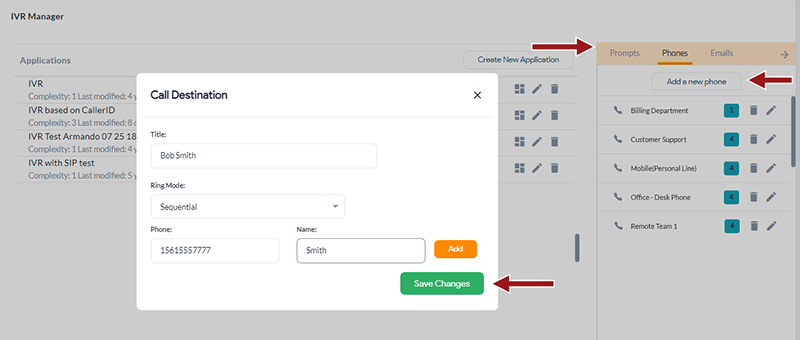
• To add individual phone numbers:
Click on the Phones tab and then Add a new phone. In the pop-up window, enter information such as destination title and phone number. You can choose a ring mode, such as:
-
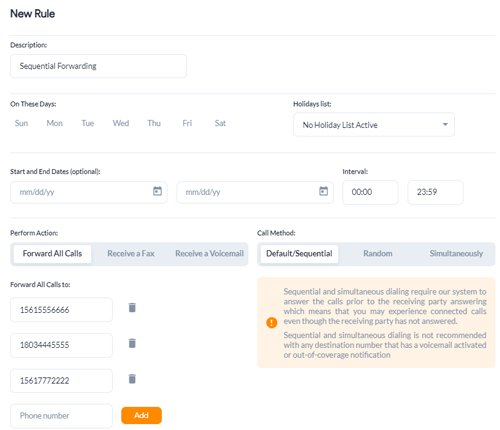
- Sequential routing – Down the list, always starting with the first in line.
- Random routing – Randomly to people within the list.
- Simultaneous ringing – Ring for everyone on the list at the same time.
After adding your desired phone number destination, click Save Changes.
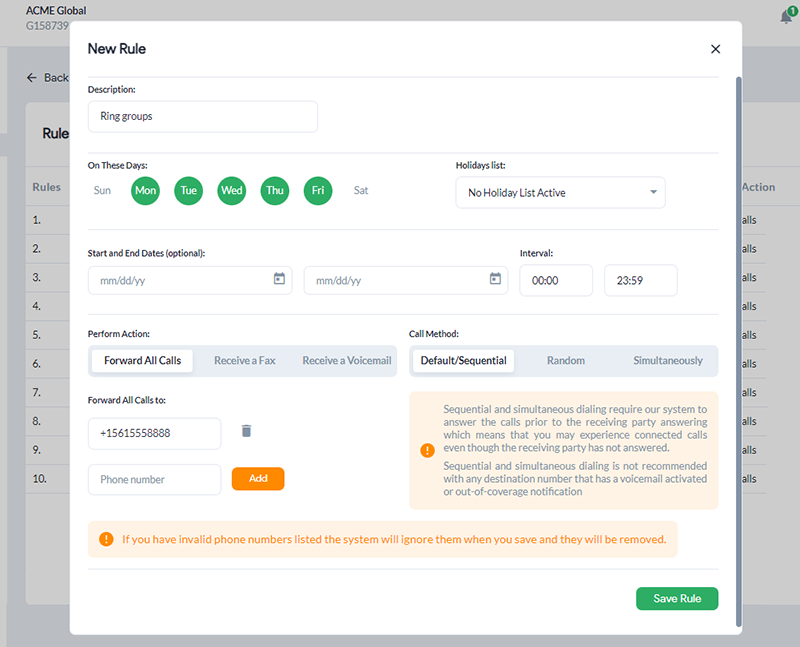
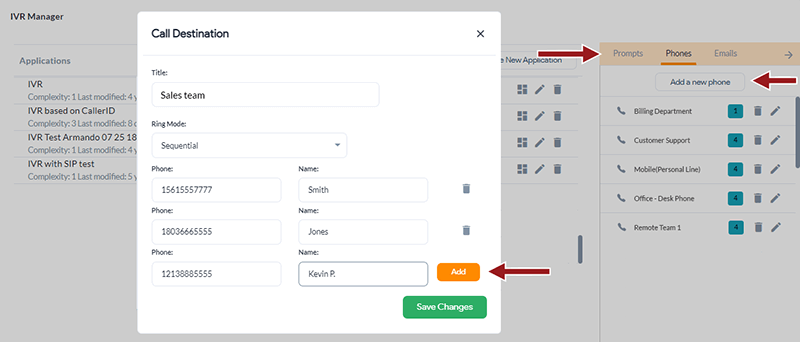
• To create phone number lists or ring groups:
Click on the Phones tab and then Add a new phone. In the pop-up window, enter the list or group title. Enter each destination by inputting the phone number and clicking the Add button to continue adding new group members. Then, choose your Ring Mode – Sequential, Simultaneous, and Random. Make sure to click Save Changes.
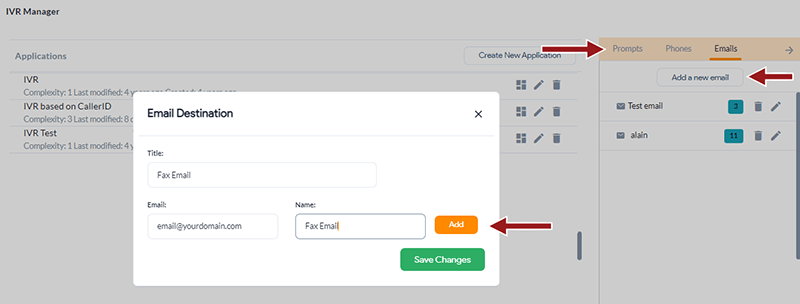
• To add email addresses:
Click on the Emails tab and then Add a new email. Here, you can create a list with one or multiple email addresses by hitting the Add button. Once you’re finished entering all the email addresses, hit Save Changes.
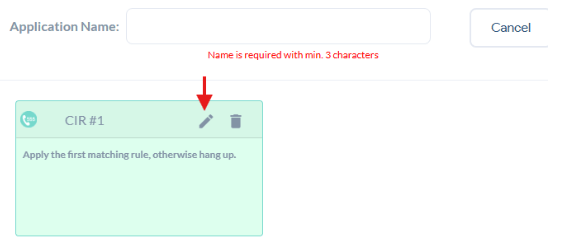
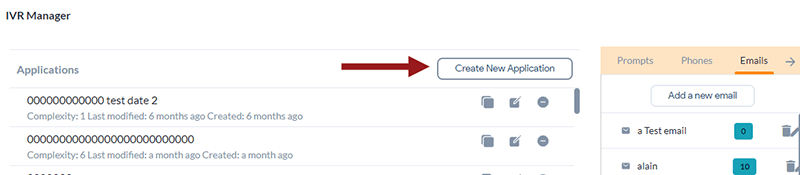
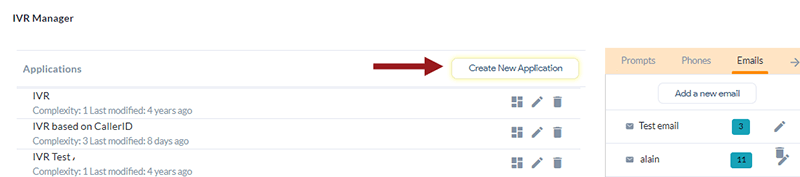
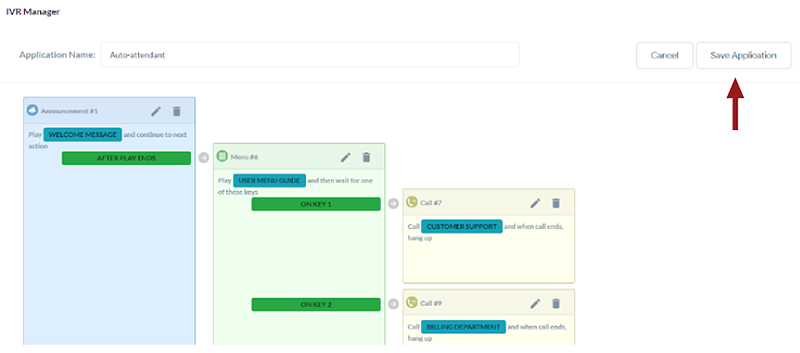
7. After uploading and entering all the prompts, phone numbers, and email addresses you plan on using, choose Create New Application in the IVR Manager to set up your auto-attendant’s call flow. And don’t forget to title your application.
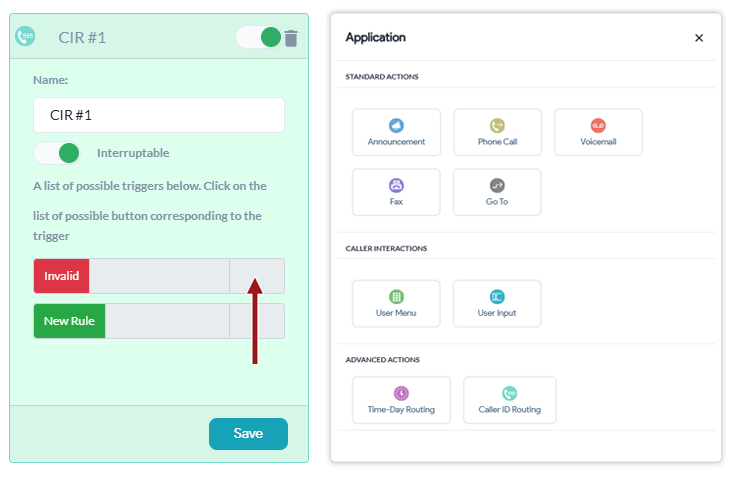
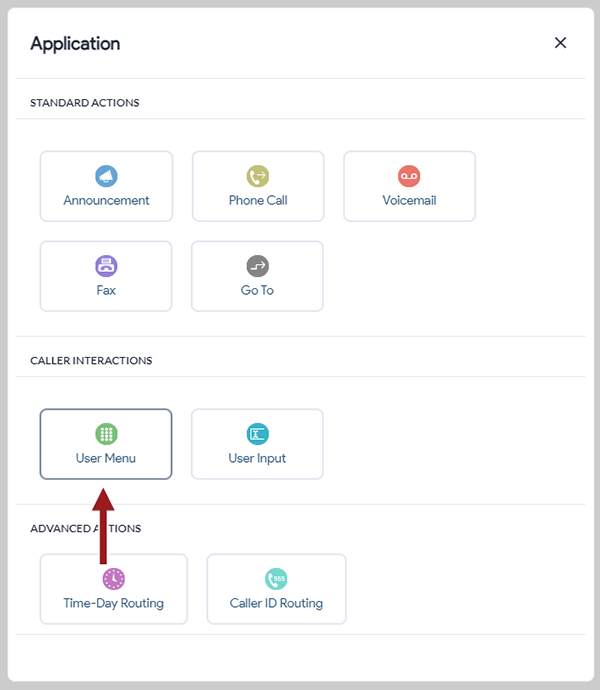
When setting up your auto-attendant, you have multiple actions, triggers, and caller interactions to choose from. So, let’s review each option and its purpose. This will help you determine what you need for your call flow.
**Note: Remember to click Close at the end after entering all parameters for actions or rules. This will save the action within the auto-attendant.
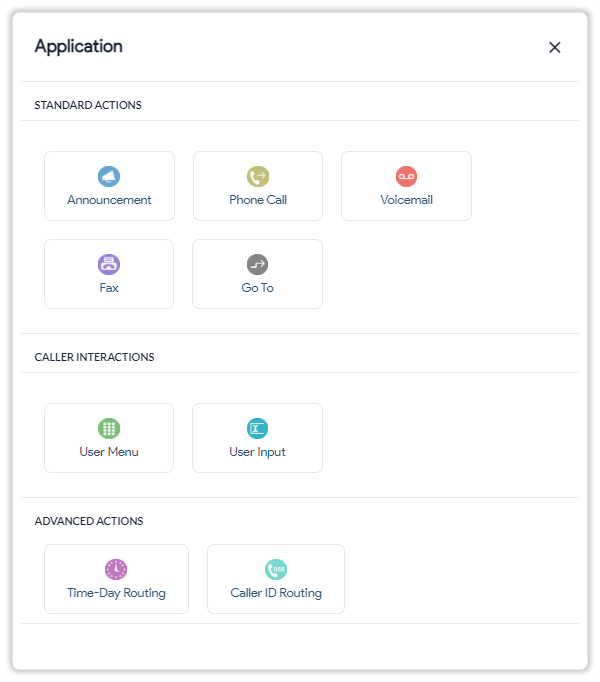
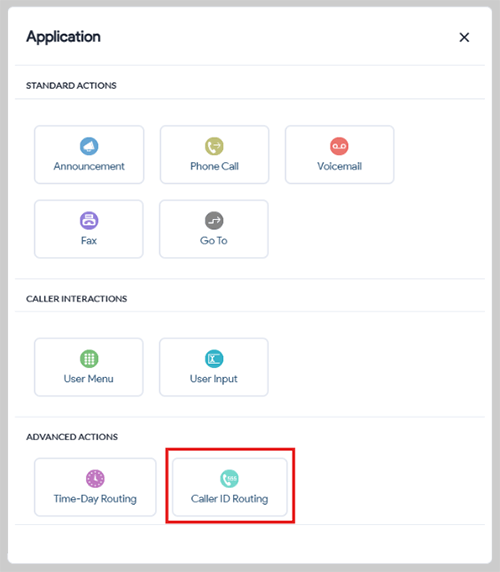
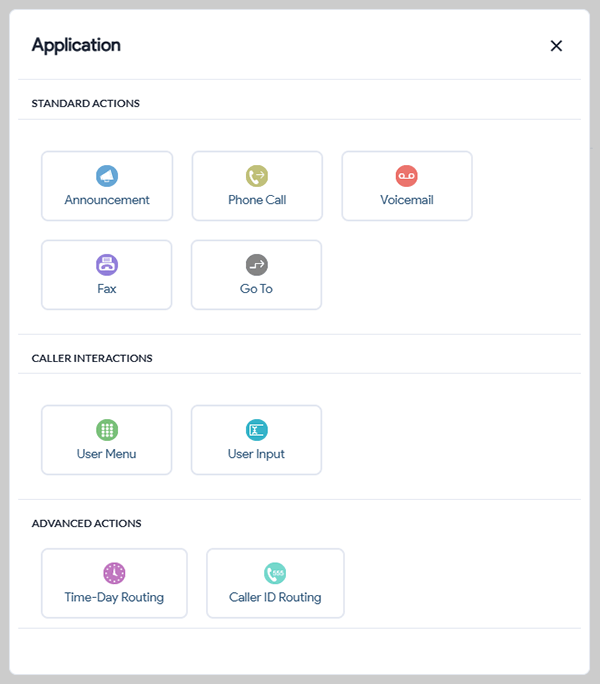
Standard Actions
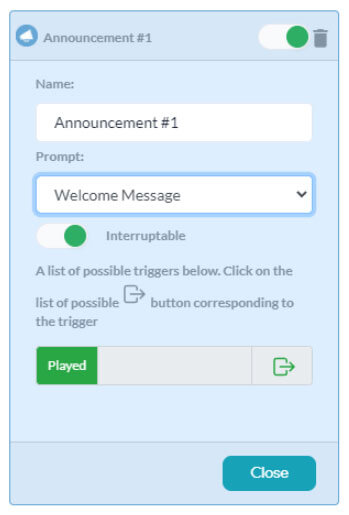 Announcement – Plays a custom message (greeting, announcement, etc.) for the caller. You must include a prompt for this announcement. Select one of your previously uploaded prompts from the drop-down menu.
Toggle the Interruptible green key to allow callers to interrupt the message. You can also add an action for what happens after the message is played by clicking the trigger button icon  next to Played.
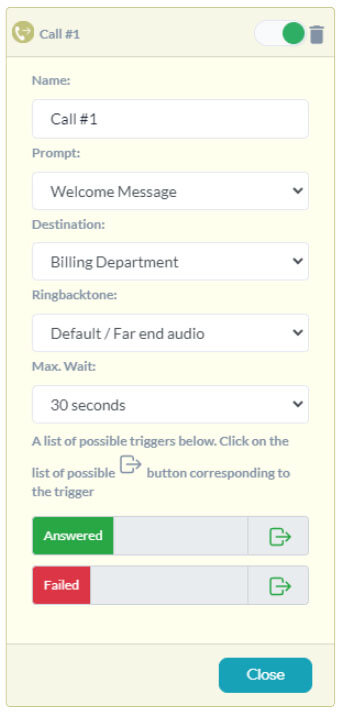 Phone Call – Directs calls to a specific destination, individual, or department. For this option, you must include:
- Prompt (optional): announcement or instructional voice message.
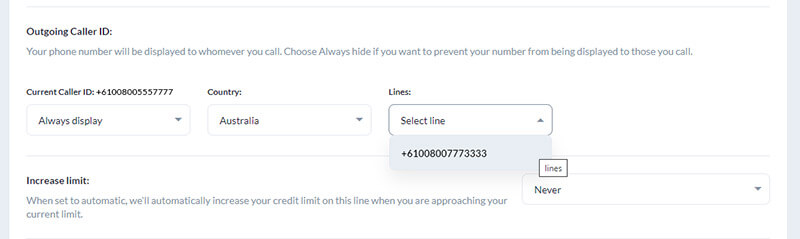
- Destination: where you want to send the phone call. It can be a particular department or agent, voicemail, or fax address. This is where you use the phone number and email lists you created before.
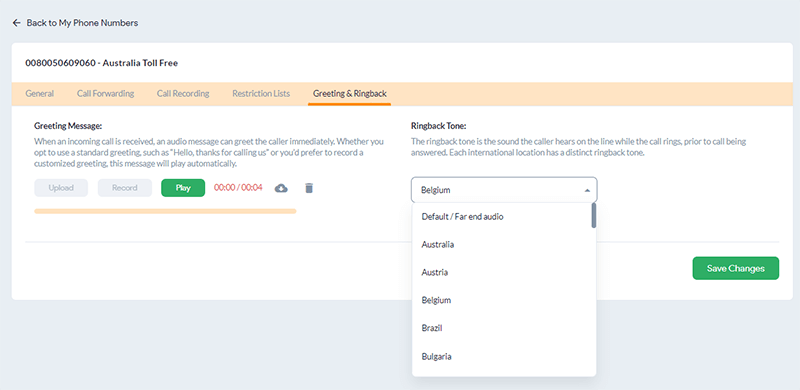
- Ringback tone: the tone the caller will hear as they wait for the call to be answered.
- Maximum wait period: how long the caller will wait on the line before the Failed action takes place.
After you complete these fields, you can decide what happens when the call is answered or if it fails. Simply select the trigger button next to Answered or Failed. Then, select a standard action, caller interaction, or advanced action from the window that opens.
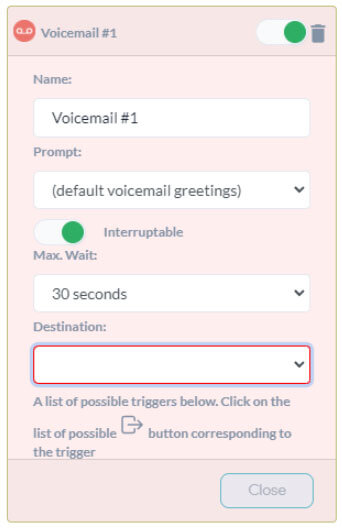 Voicemail – Forwards calls to your voicemail inbox. This action requires you to include:
- A Prompt asking the caller to leave a message
- Maximum wait period
- A Destination to send the caller’s voicemail message to a business phone number or email address.
Fax – Sends incoming faxes to your desired email addresses. Use this feature if you have set up fax forwarding. You must include the Destination for where you want to receive the incoming fax. Choose an email address or email address list you created earlier.

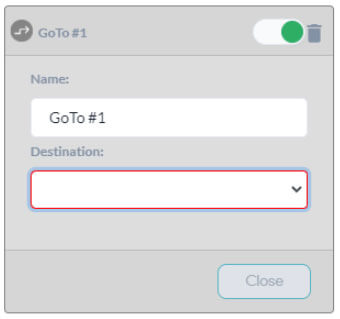
Go To – Redirects callers to a previous destination within your auto-attendant’s call flow. For example, you can direct the call back to your auto-attendant’s main menu, so callers can hear each option again.
Caller Interactions
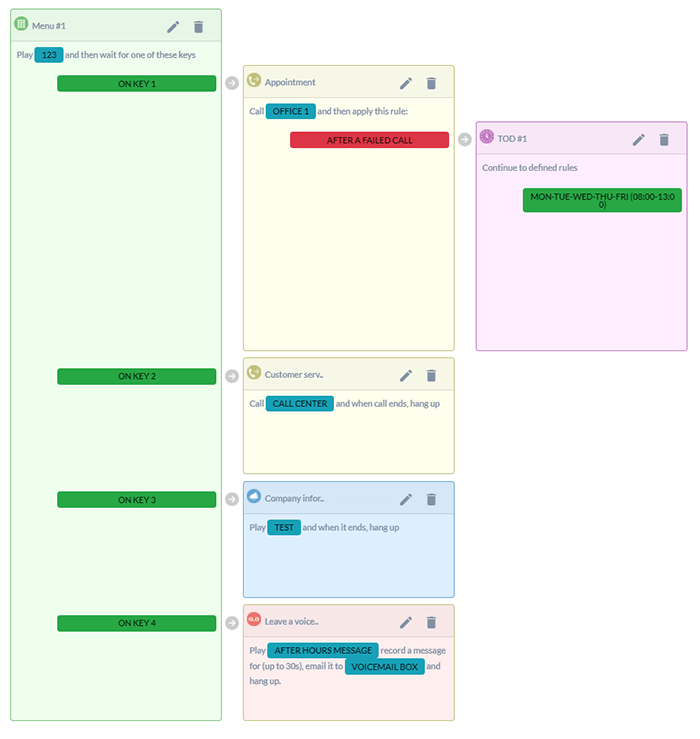
User Menu – Design an auto-attendant menu with custom messages and options for callers to explore. This option requires the caller to respond through their phone’s keypad. When creating the User Menu, you will need to include:
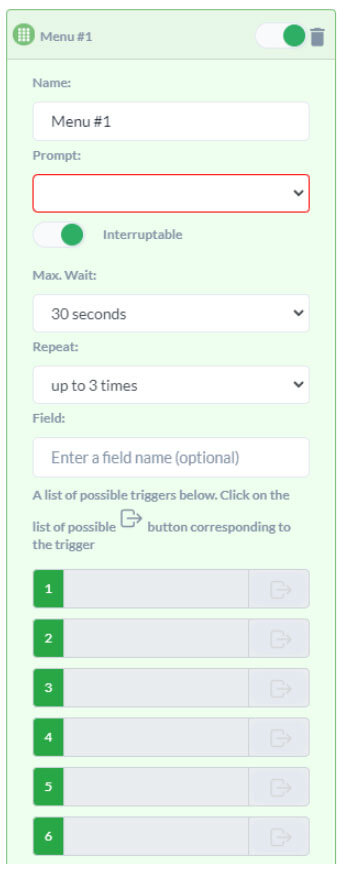
- Prompt: The main voice message that welcomes and provides the caller with different menu options.
- Interruptible option: Callers can or cannot interrupt the message played.
- Maximum wait period
- Repeat: Number of times the message will repeat
- Trigger for keys (number on the keypad): Choose from the different possible actions and triggers. You can assign each key (1, 2, 3, etc.) to a specific target such as a hunt group, department, voicemail, list of email addresses, etc. This is where you use the phone number and email lists you created before.
- Example: #1 will send the call to the customer service department list. #2 will send the call to the billing department list. #3 will send the caller to voicemail.
- Invalid: Choose what happens when the caller presses the wrong key or number.
- Timeout: Choose what happens when the message has repeated the desired number of times, but the caller pressed no key.
- Example: Caller cannot find the right option within the menu, so wait in line instead. You can send the caller to voicemail, so they can leave a detailed message for assistance.
User Input – Create an auto-attendant menu with voice messages and options for callers with custom rules.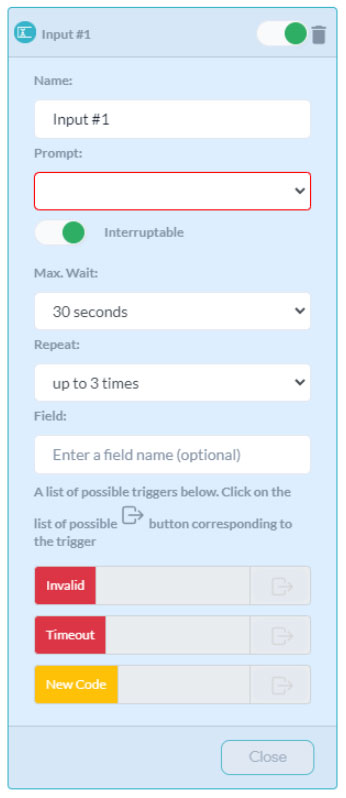
- Prompt: The main voice message that welcomes the caller and gives them different menu options.
- Interruptible option: Callers can or cannot interrupt the message played.
- Maximum wait period
- Repeat: Number of times the message will repeat
- Invalid: Choose what happens when the caller presses the wrong key or number.
- Timeout: Choose what happens when the message has repeated the desired number of times, but the caller pressed no key.
- Example: Caller cannot find the right option within the menu, so wait in line instead. You can send the caller to voicemail, so they can leave a detailed message for assistance.
- New Code: Enter a code to direct the call to a different action, including attended transfers.
Advanced Actions
Time-Day Routing – Route calls during a specific period of time to an alternate destination (locations or list of numbers). 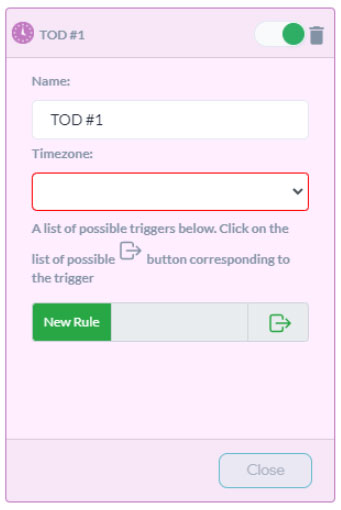
Include the following:
- Timezone: The time zone of the location or region you want to route calls to. In other words, if you want to route calls from your US head office to Hong Kong, then you need to enter Hong Kong’s time zone, which is Hong Kong (GMT+8).
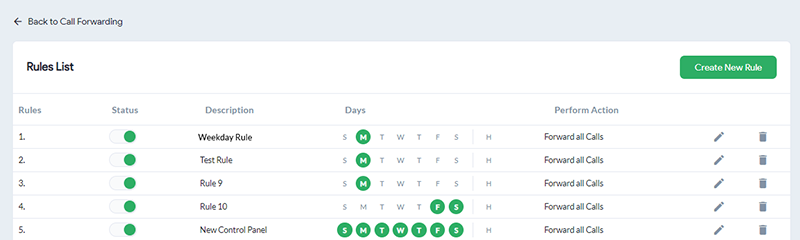
- New Rule: Here, you create a new rule for incoming calls during a certain period of time.
- First, select parameters for when this action should go into effect. Select the days and holiday list (if applicable) and the time range.
- Then, click Next. Choose Phone Call from the different actions and triggers.
- Then, select the Destination number or list where the calls will be forwarded. See Phone Call section for further information on how to set up this part.
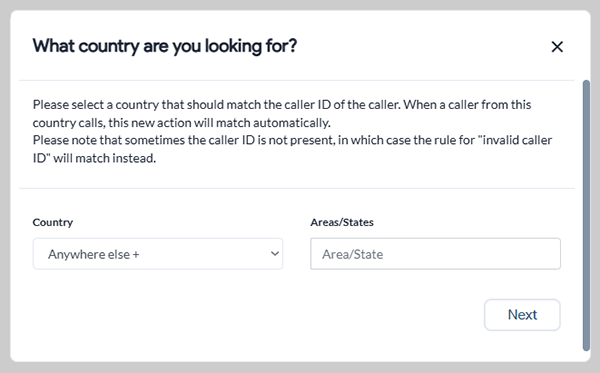
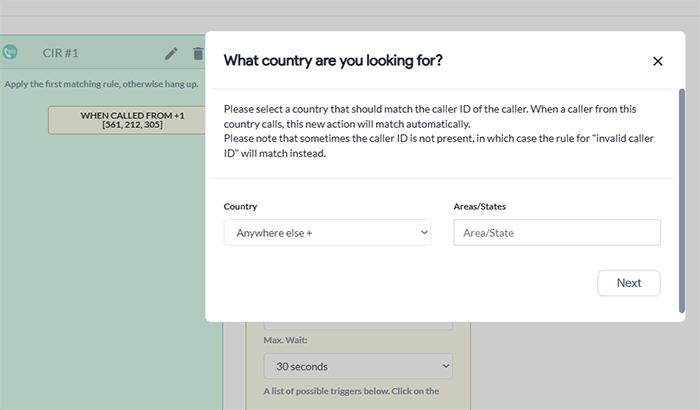
Caller ID Routing – Route calls to a specific destination based on the caller’s location or caller ID. This is also known as geo-routing, location-based routing, and geographic routing.

Fill out the following fields:
- Invalid: Choose what happens when the caller presses the wrong key or number.
- New Rule: Here, you can create a new rule for calls coming from certain area codes and locations.
Choose Country and Area/State codes for the desired country. Example: if you want to use caller ID routing for calls coming from Canada. Then, pick Canada under Country and enter Canada area/state codes like 778, 780, 647, etc.
Then, click Next and choose what happens to a call with one of these caller IDs. You can send the call to another hunt group by selecting Phone Call or send it to Voicemail. You can also determine what happens if the call failed (team didn’t answer) such as sending the caller to another hunt group (team) or voicemail.
Use these Standard Actions, Caller Interactions, and Advanced Actions to set up an auto-attendant that meets your business communication needs and helps you manage your incoming call flow.
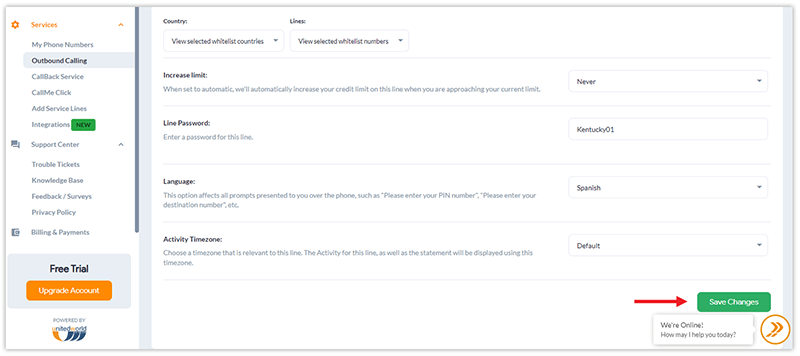
8. Click Save Application in the top right corner to save your new rule.
Still need help with auto-attendant setup? Read our blog post for more information, or call us at +1 (561) 908-6171. We’re here to help 24/7!