To change the billing contact information on your account, follow these steps:
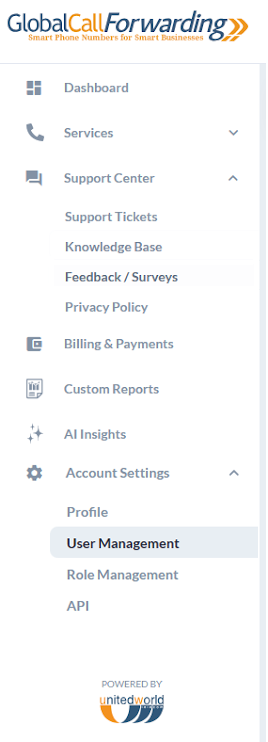
1. Log in to your control panel. From the dashboard, click on the user name in the top right corner of the page. A dropdown will appear, click on Account Settings. You can also access this menu option from the left side menu bar.
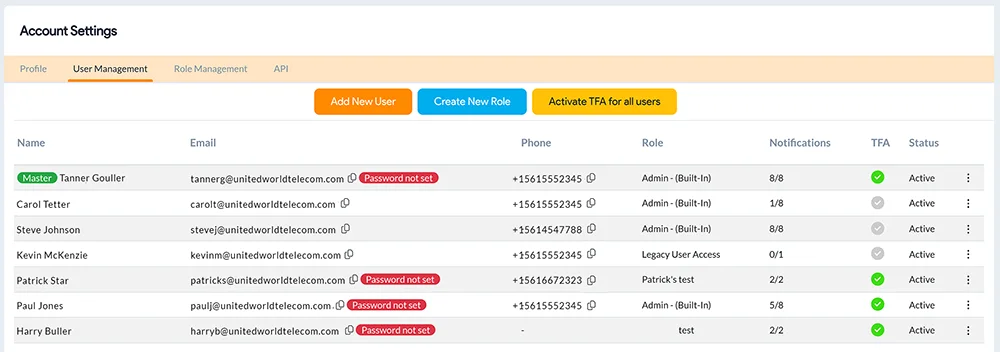
2. Click on the User Management tab, you can create new users and permissions or manage existing users, their roles, and notifications.
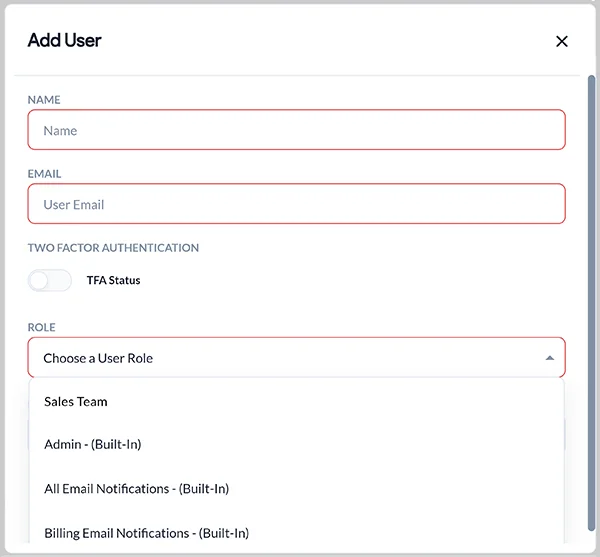
a) To add a new contact for billing information, you can Add a New User and assign them the Admin or Billing Email Notifications role.
- Admin: This role will give the user access to full permissions, ability to modify/enable services and features, including copies of all emails.
- Billing Email Notifications: This role will allow a new user to ONLY receive invoice and scheduled reports via email. This role will NOT give the user any control panel access.
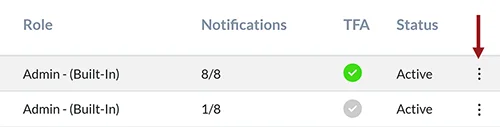
b) To make an existing user the new contact for billing information, click the three dots on the right side of the desired user and click Edit.
You can also hover over the notifications count to see who all have access to billing emails notification.
Here, you can change the user’s role and adjust the Billing notification as needed.
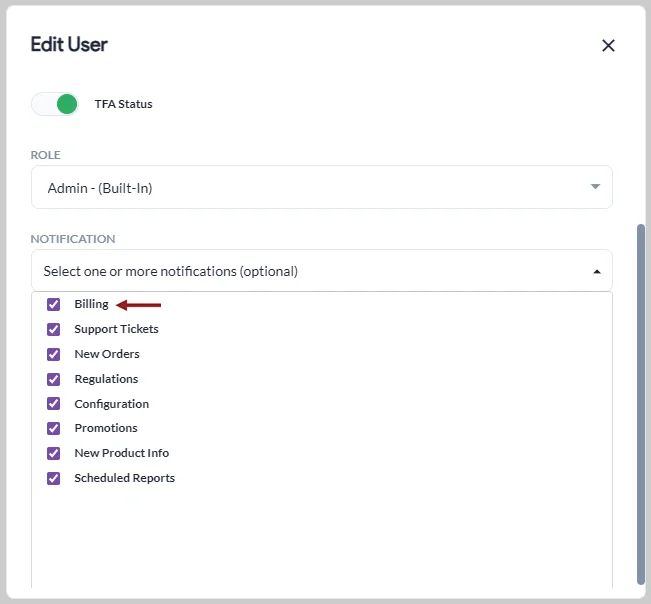
For example: If you want to remove User A as the billing contact, simply change the role or uncheck the Billing notification box under this user’s settings.
Similarly, to add User B as the new contact, modify their role and check the Billing notification box under notification settings.
Once changes are made, click Save.
Notifications for Each User Role
Below are the default user email notifications based on the role. You can choose all of these notifications or opt out of some, as needed:
Admin:
- Billing
- Support Tickets
- New Orders
- Regulations
- Configuration
- Promotions
- New Product Info
- Scheduled Reports
All Email Notifications:
- Promotions
- New Orders
- Regulations
- Billing
- New Product Info
- Support Tickets
- Configuration
- Scheduled Reports
Billing:
- Billing
- Scheduled Reports