By connecting Twilio’s programmable communications with GCF’s global carrier network, you can expand coverage, improve reliability, and maintain your existing Twilio workflows. With this SIP integration, you can route, manage, and scale voice traffic globally from within Twilio.
This guide will walk you through how to integrate your Twilio account with Global Call Forwarding to manage both inbound and outbound calls.
To see instructions for configuring SIP within Twilio, check out our Twilio SIP Forwarding guide.
Follow the steps below to configure your numbers, routes, and settings for a seamless integration.
- Set up the requirements
- Configure your phone number in the GCF control panel (incoming & outgoing)
- Configure routes in Twilio (inbound & outbound)
- Test the integration
Prerequisites
Before starting the integration, ensure you have:
- An active Twilio account (NOT a Twilio Trial account).
- An active GCF account with one Phone Number for origination (receive calls) and an Outbound PIN number for termination (make calls).
- Basic understanding of Twilio Studio, SIP, and networking concepts.
Integration Steps
The integration process is divided into the following key steps:
1. Creating the Pre-Requirements
For the initial configuration, we’ll need to create and add Access Control Lists (ACLs), Domains, and Phone Numbers.
Note: The phone number will be required to start the triggering process in Studio Voice to use the outbound line. If you already have a Twilio application that can place a call, you can skip the process of acquiring a phone number.
1. Go to Twilio’s console. Then, on the left-hand side, under Developer, click on Voice. If you do not see Voice on the left, you will need to click on Explore products, search for Voice, and pin it.
2. Under Voice, click Manage and then click on IP Access Control Lists. ACLs work as a security mechanism for Twilio’s SIP Domains and Elastic SIP Trunking services and define which IP addresses or ranges are authorized to connect to your Twilio account.
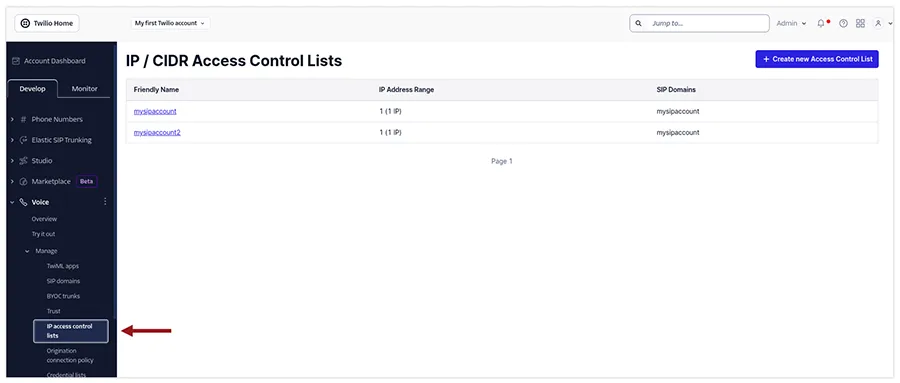
3. Here, you will create 2 ACL rules, one for each Global Call Forwarding IP:
- Add a name for this ACL
- For the IP Address Range, add 66.165.168.107 / 32
- Do this again for the 2nd GCF IP 66.110.73.76 / 32. If this IP doesn’t work, you can try with 66.110.73.75 / 32.
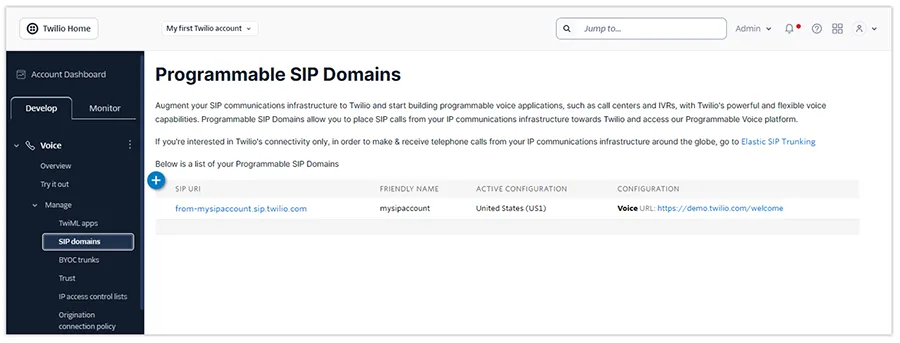
4. Next, go to Voice > Manage > SIP Domains.
Here, you will create a new domain that will be used for incoming calls.
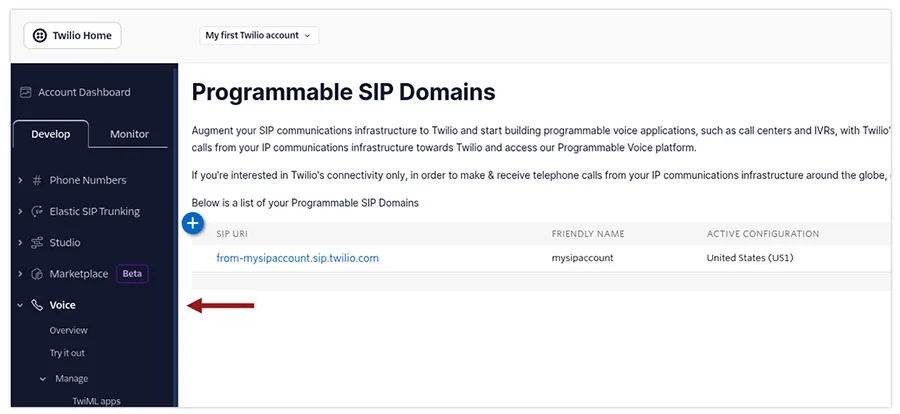
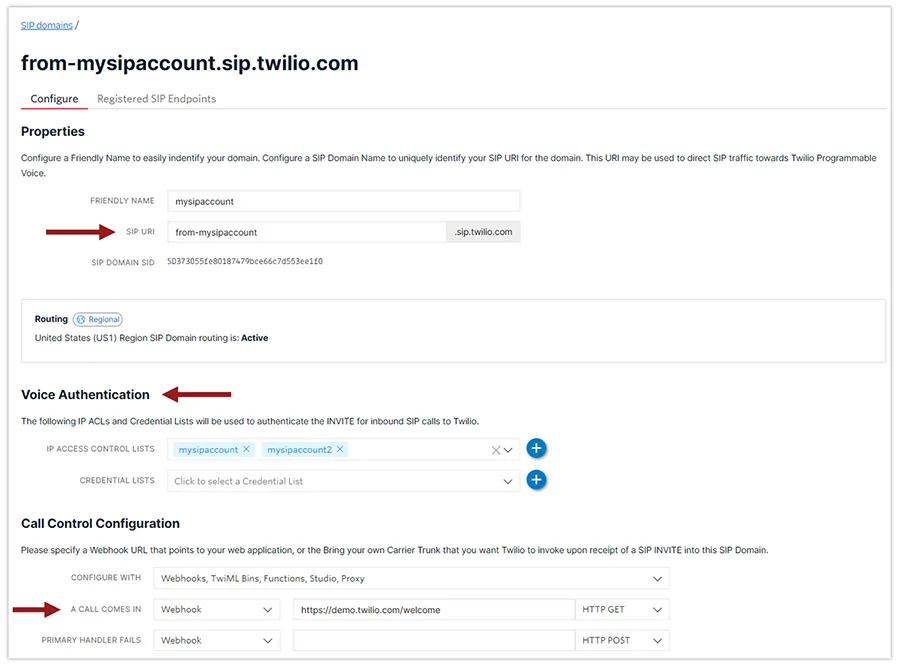
5. Click the + icon and do the following (see example in the screenshot below):
- In SIP URI, add a label that helps you to recognize this trunk and its purpose.
- In Voice Authentication, add both ACL rules created in the previous step.
- In Call Comes In, select Webhook and add a link to a demo Webhook, where an audio file will be played. This Webhook informs your application and receives instructions on how to handle the call. You can configure a specific URL in your Twilio account, and when an incoming call arrives, Twilio send an HTTP request to that URL.
Then, click Save.
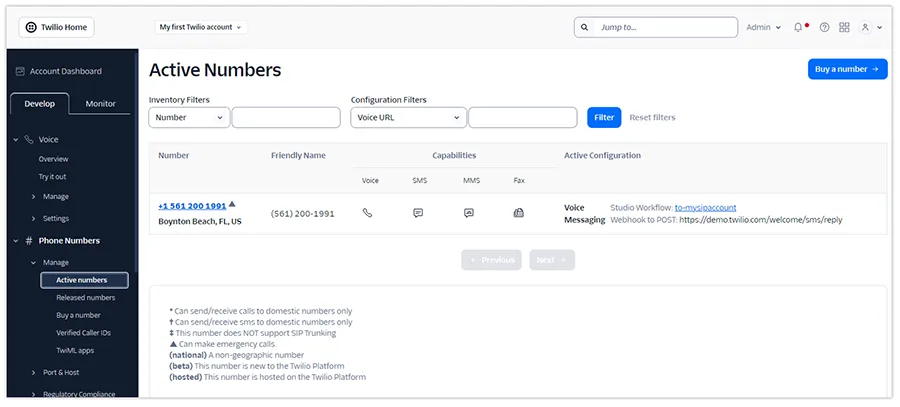
6. Next, from the left-hand menu, go to Phone Numbers on the left or choose it from Explore products.
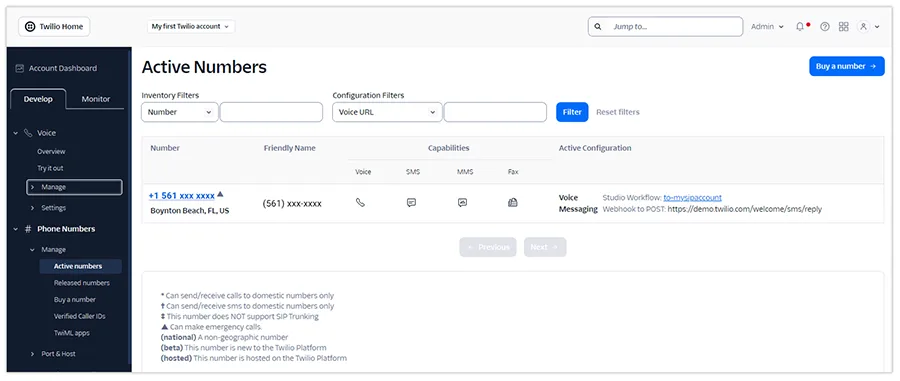
7. Under Phone Number, click Manage and then Active Numbers.
Buy a phone number from Twilio that will be used later during the tests.
2. Configure Your Phone Number in the GCF Control Panel
Here, we will look at how to configure phone numbers for inbound and outbound calling through the GCF network.
A. Incoming from Twilio
This refers to calls GCF will receive from Twilio. An incoming call from Twilio becomes an outbound call from us to the end customer.
Twilio > GCF > Customer
1. To set up outbound calling for GCF, log in to the control panel.
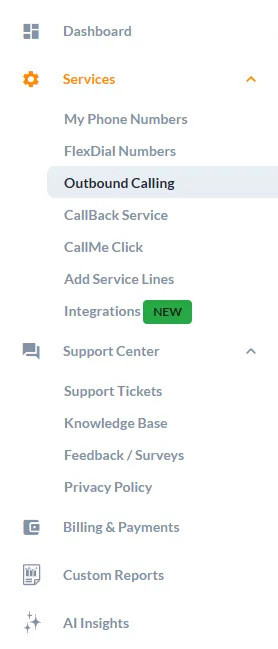
2. In Services, click Outbound Calling.
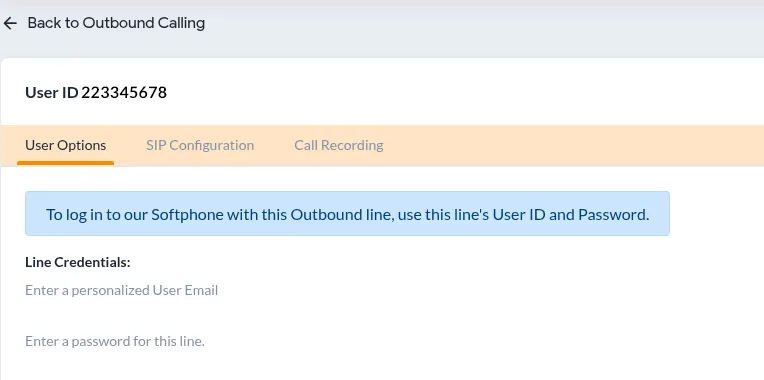
3. Click on the settings icon ![]() of the outbound line where you want to receive calls from Twilio.
of the outbound line where you want to receive calls from Twilio.
If you do not have Outbound Calling set up for your account, see how to add it here.
4. Make a note of the UserID and Password of this line to use in Twilio.
Important: On Twilio’s side, there is an option to specify a CallerID. You can use any Caller ID you bought from GCF using E.164 format. If you do not specify a Caller ID or send an invalid Caller ID, GCF will replace it with the default Caller ID set on the GCF platform.
B. Outbound to Twilio
This refers to calls Twilio will receive from GCF. This is when GCF receives a call from the end customer and forwards it to Twilio.
Customer > GCF > Twilio
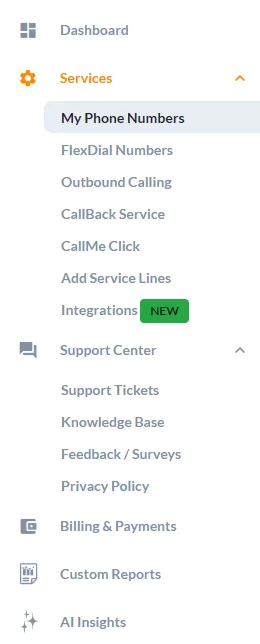
1. In the GCF control panel, go to My Phone Numbers.
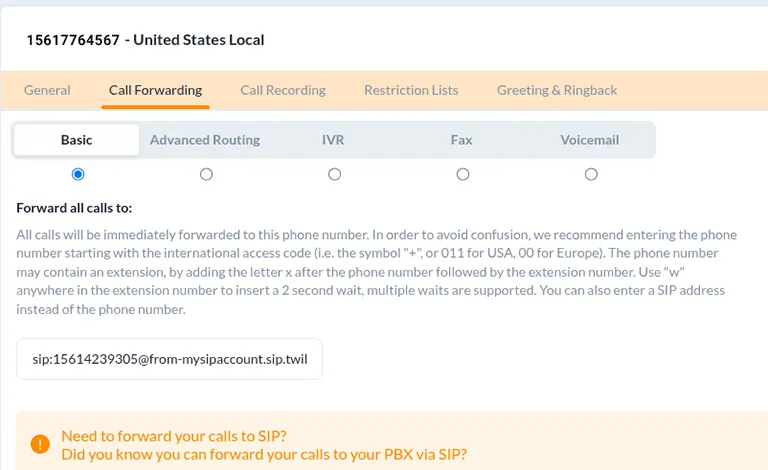
2. Click on the settings icon of your desired number. Click on the Call Forwarding tab and then the Basic tab.
3. Here, you will enter the SIP address to forward all calls to.
We use the standard SIP address, like sip:you-phone-number@Twilio-domain: sip:15614239305@from-mysipaccount.sip.twilio.com
In this example,
- you-phone-number = the phone number of the GCF line
- Twilio-domain = domain created in Part 1, step 4
3. Configure Routes in Twilio
With the inbound and outbound phone numbers, you can now create inbound and outbound routes for calling.
A. Inbound Routes
Calls coming from GCF will use the SIP Domain previously configured in Part 1, step 4
On the Twilio side, you can change the route, or even send several Phone Numbers to the same SIP Domain. You can learn more about that here: https://www.twilio.com/docs/voice.
B. Outbound Routes
To test the outbound calls, we will create a flow in Studio.
Note: If you have a softphone or something similar already configured in your Twilio account, you don’t need to create this sample flow. You can just configure your softphone with the GCF line and make calls.
1. Go to Studio on the left or choose it from Explore products.
2. Under Studio, click on Flows, and then Create new Flow.
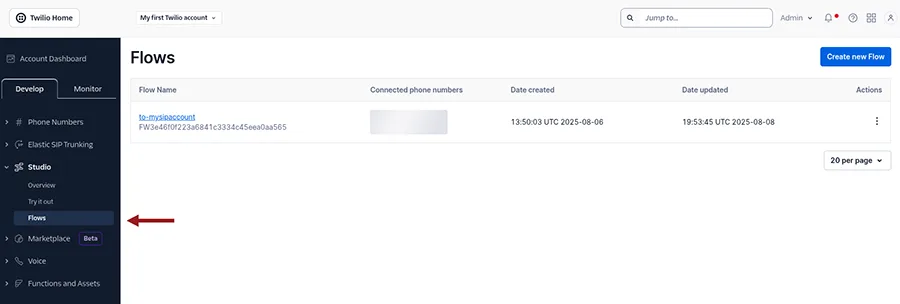
Here, you will enter a name for this flow and select Start from scratch.
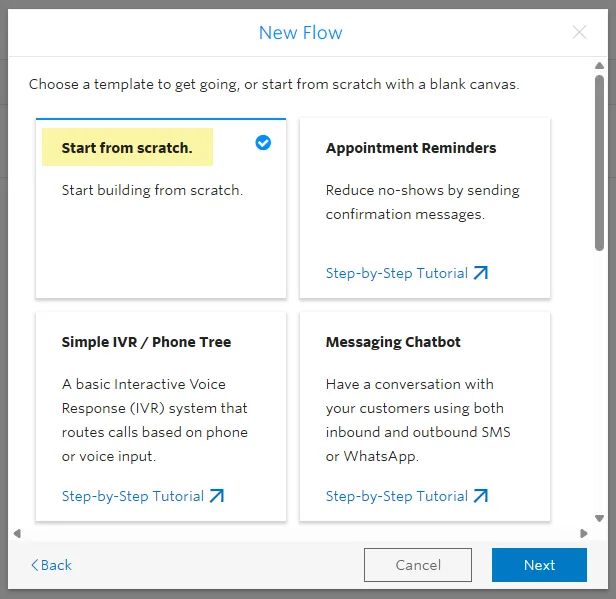
This will open the Flow Editor.
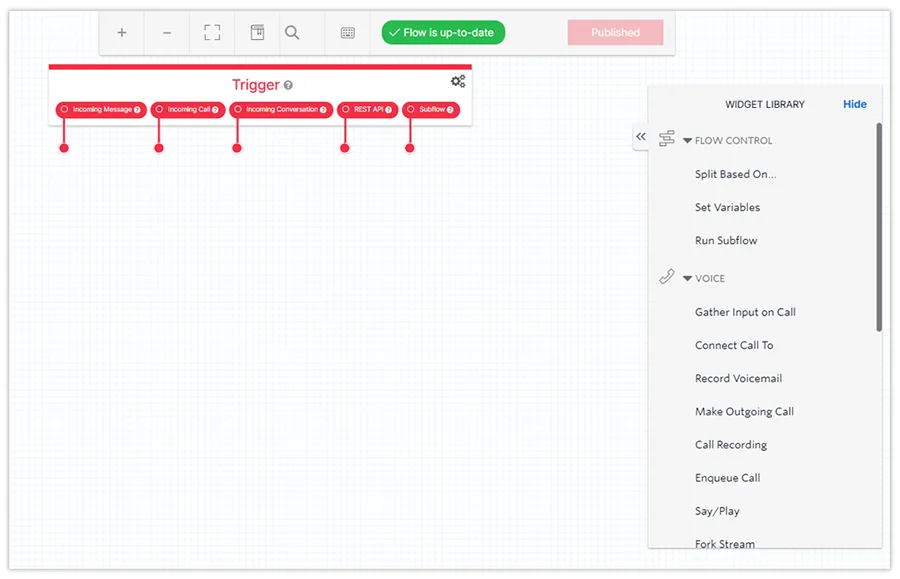
3. Create a widget by dragging Say/Play and Connect Call To from the Widget library into the editor. Use the circles in the corner to connect those widgets.
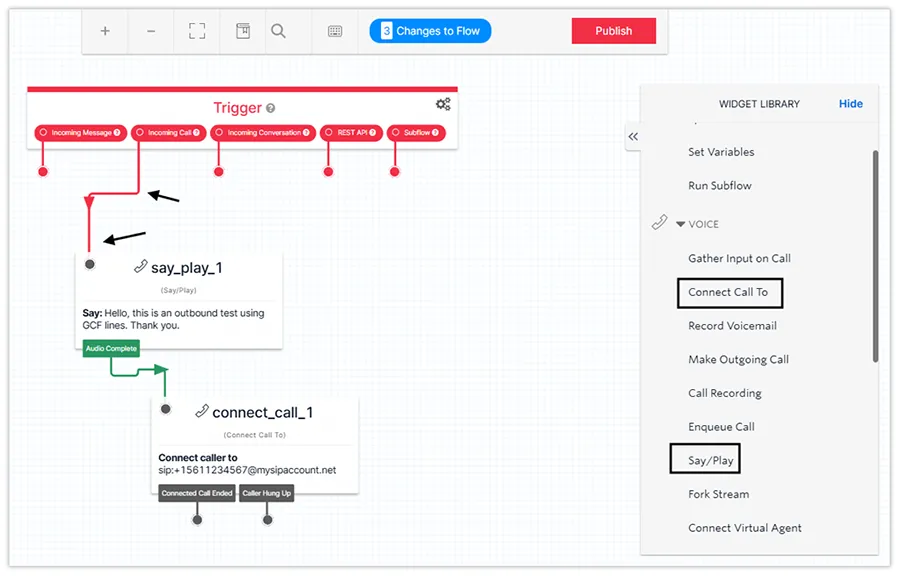
4. Adjust the settings of the widgets by clicking on them:
- For the Say/Play widget, you can enter the Text to Say, choose a voice, and set loops. The Text to Say message can say, ‘Hello, this is an outbound test using GCF lines. Thank you.’ This message will play when the call reaches Twilio’s platform.
- For the Connect Call To widget, enter the SIP endpoint and the Outbound Line’s UserID and Password noted from the GCF control panel (Part 2, A, step 4). In SIP Endpoint, put the phone number that you want to test, in SIP format: sip:+phone-number@mysipaccount.net.
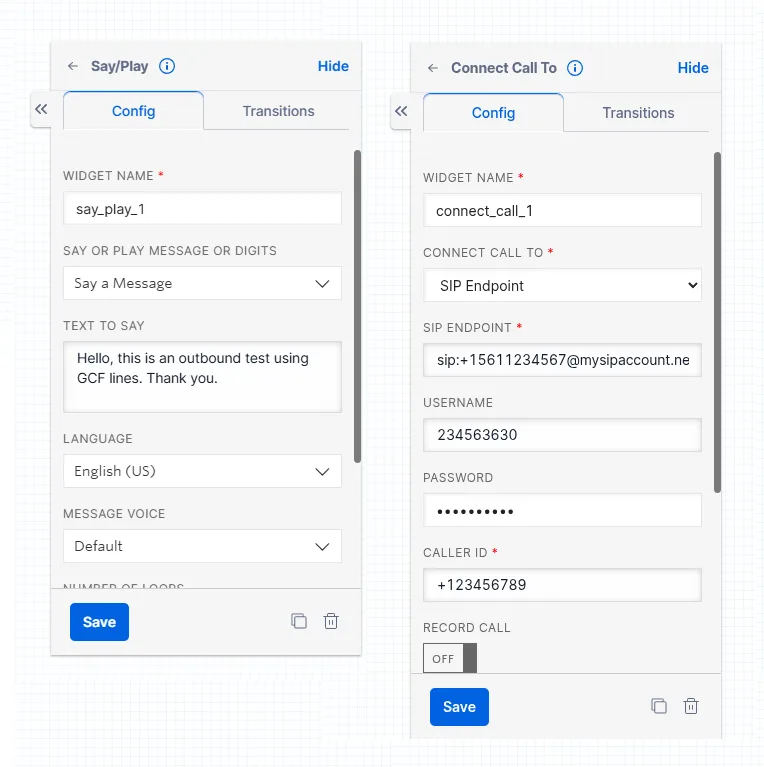
Remember that the field Caller ID will be replaced by the default Caller ID as set up in your Global Call Forwarding account.
5. Click Save for each widget and then, when finished, click Publish on the top right.
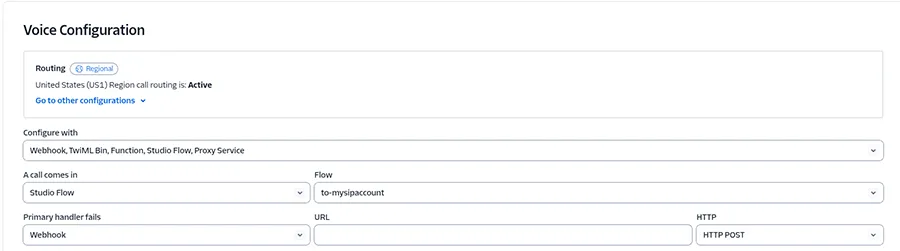
6. Next, go to Phone Numbers, then Manage and Active numbers. To edit your purchased number, click the desired number.
7. In the Configure tab, under Voice Configuration and A Call comes in, choose Studio Flow and select the name of the newly created flow.
Then, scroll to the bottom of the page and click Save configuration.
4. Test the Integration
After configuring all the components, it’s essential to thoroughly test the integration:
- Inbound Call Testing:
- Dial your Global Call Forwarding phone number from an external line.
- Verify that the call is successfully routed through GCF and then to your Twilio account, where an audio will be played and the call hangs up.
- Outbound Call Testing:
- Dial your Twilio active phone number from an external line.
- Verify that the call is successfully routed through your Twilio account to your GCF carrier and then to the target phone number.
By following these steps, you can successfully integrate your Twilio account with our Global Call Forwarding carrier for seamless inbound and outbound call management.
Remember to regularly monitor your call logs and configurations to ensure optimal performance. For further assistance, refer to the Twilio documentation, contact Twilio Support, or contact GCF tech support.