As you create user roles and permissions, you can manage different notifications for each user.
Every role has a set amount and type of email notifications. By default, every user is enrolled for all notifications allowed under their role. However, you can edit these notifications to opt out and only subscribe to some types.
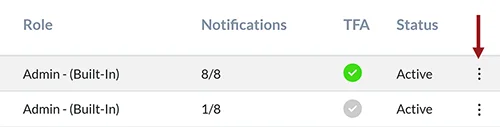
For example: A user can have an admin role and opt out from all notifications, i.e. “0/8.”
Below, we’ll show you how to:
- Set up email notifications for new users
- Edit email notifications for existing users
Notifications for Each User Role
Below are the default notifications based on the role. You can choose all of these notifications or opt out of some, as needed:
Admin:
- Billing
- Support Tickets
- New Orders
- Regulations
- Configuration
- Promotions
- New Product Info
- Scheduled Reports
All Email Notifications:
- Promotions
- New Orders
- Regulations
- Billing
- New Product Info
- Support Tickets
- Configuration
- Scheduled Reports
Billing:
- Billing
- Scheduled Reports
Setting Up Email Notifications for New Users
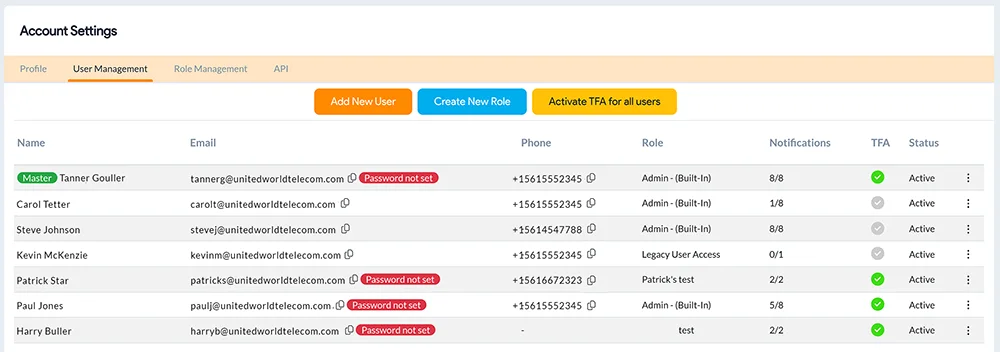
1. Log in to your control panel. From the dashboard, click on the user name in the top right corner of the page. A dropdown will appear, click on Account Settings and then the User Management tab.
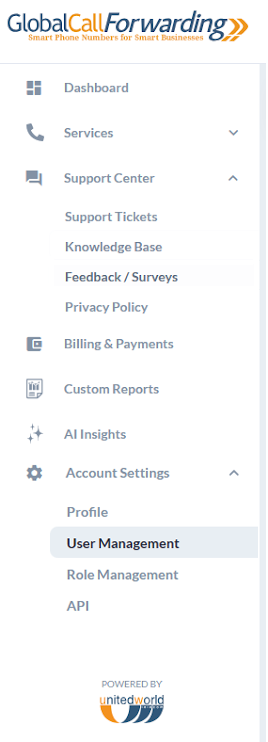
Or, in the left side bar, click on Account Settings and User Management under it.
2. You can click on the Add New User button to add new users to your account. Enter their Name, Email, and Choose a User Role.
Choose from default available roles or Create New Role, as required.
3. Then select what Notifications this user should receive from the dropdown. You can choose among the notifications that come with their role.
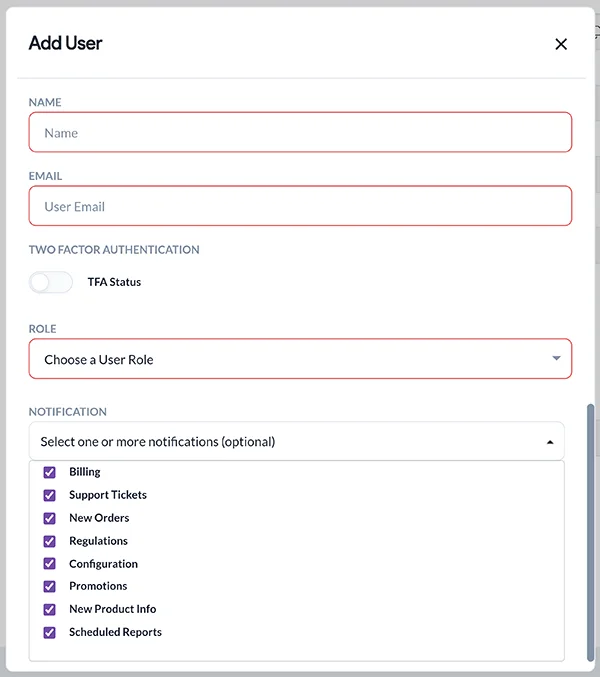
4. Click Save.
Editing Email Notifications for Users
When you need to edit email notifications for existing users, follow these steps:
1. From the dashboard, click on the user name in the top right corner of the page.
2. Click on Account Settings and then User Management.
Here you will see all users registered to your account.
You can see which notifications they are subscribed to by hovering over the notifications for each user.
3. Click the dotted menu on the right side of the desired user to edit these notifications.
Once adjusted, click Save.
Related: How to Change Billing Contact Information