With Localized Caller ID, you can automatically display a specific local phone numbers based on the country or region you’re calling. This allows your business to present local caller IDs to customers worldwide without requiring agents to manually switch numbers.
To use this feature, you will need an Outbound Calling plan and local phone numbers with United World Telecom. You can then assign these local numbers to
Set Up Localized Caller IDs to Display Automatically When Placing Calls
Our control panel makes it easy and efficient to manage your outbound caller ID. Follow these steps to assign caller IDs by destination:
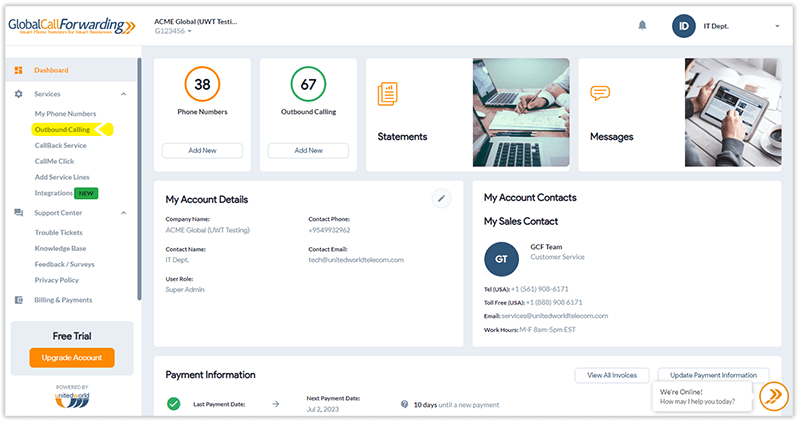
1. Log in to your control panel.
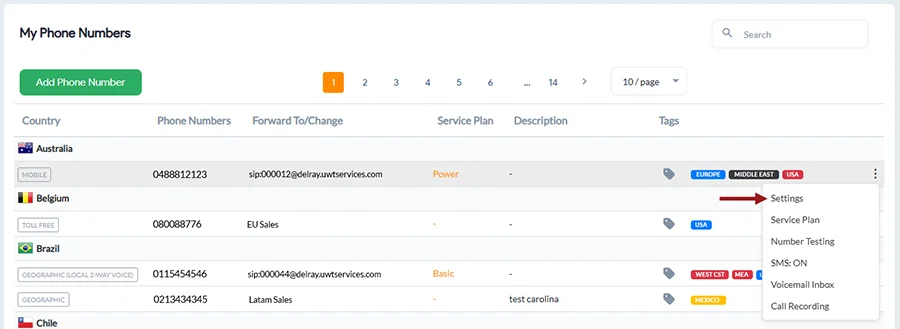
2. Select Outbound Calling.
3. Hover over your desired Outbound Calling phone line where you want to change the Outbound Caller ID and click on the 3 dots and select Settings.
4. Under User Options tab, scroll down to Outgoing Caller ID Settings, you will see a Localized Caller ID setting. Click on Manage.

5. Here you can set specific caller IDs for outbound destinations.
Search for your desired destinations where you wish to apply specific outbound caller IDs. Then, click the edit icon to assign your desired local number for this region. A local phone number matching your desired country shows up on the top of the list to make this process easy.

Using local numbers from your ‘Local Two-Way Voice’ portfolio helps ensure higher connectivity and trust.
For example, you can assign your +44 London phone number for calls to the UK and Spain, or your +55 Brazil number for Peru and Brazil.

6. Once set up, click Save Changes in this dialog box. Then, scroll down and click Save Changes again to apply all changes.
Note: Caller ID changes made in the GCF softphone app will overwrite platform changes.